
DetailOAR Field Manual · Textile cleaning
Carpet and Upholstery Stain Removal and Extraction
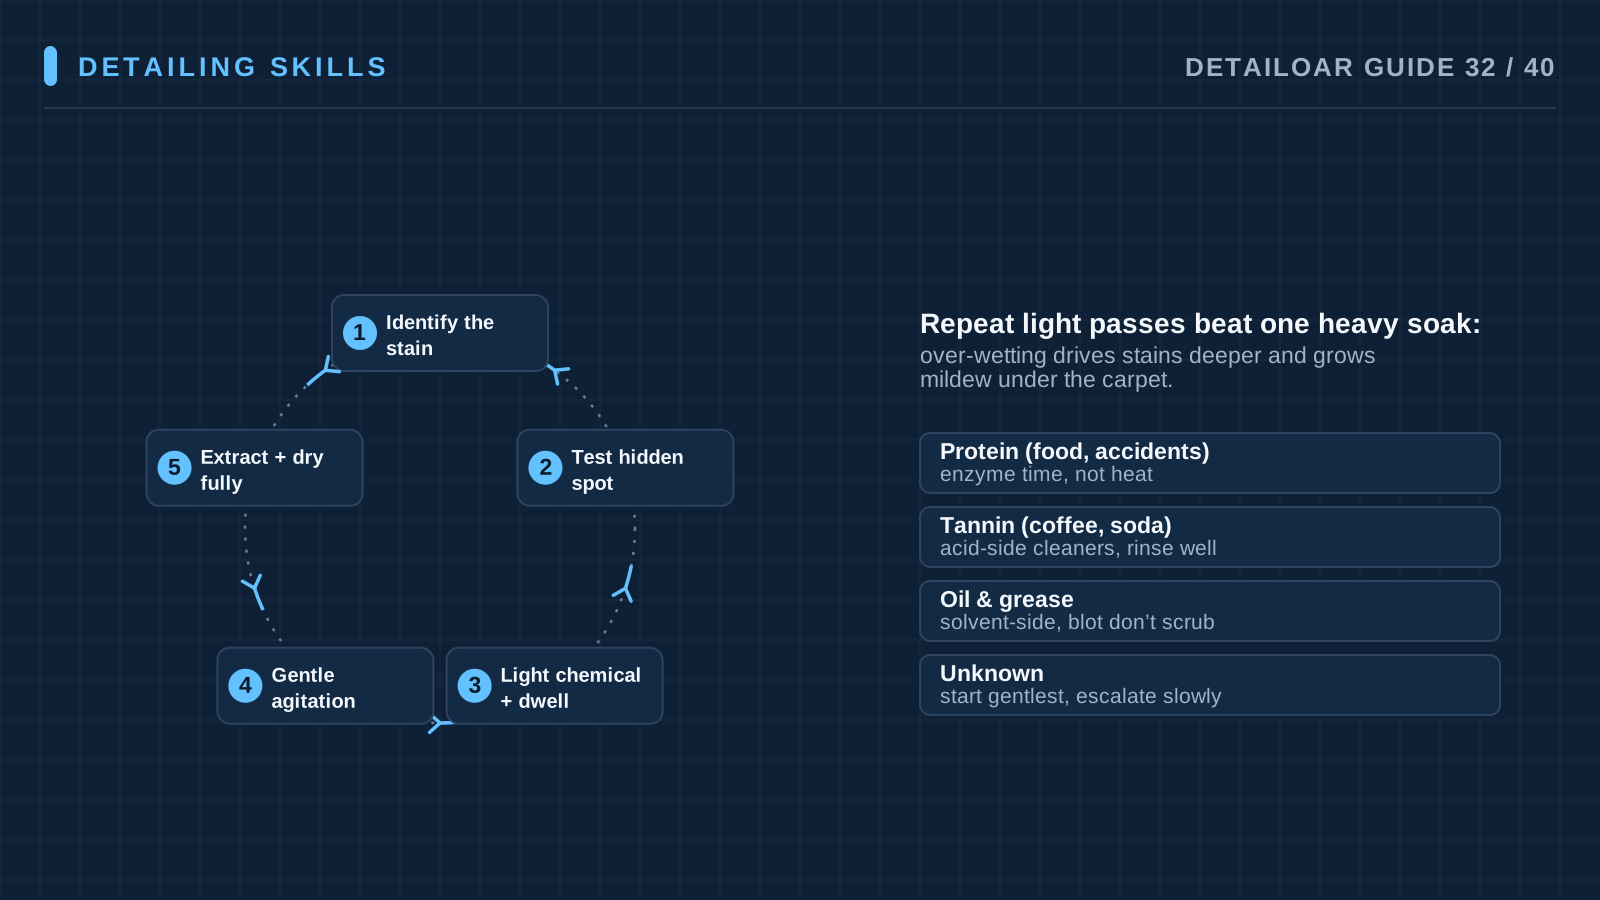
Figure out the stain and the fiber before touching either, test for colorfastness, use controlled chemistry and gentle agitation, extract with minimal moisture, dry fully, and note what won’t come out.
Save or use this guide
Contents
Start
Know the outcome.
Work common textile soil methodically — without setting stains, spreading dye, drowning the foam, or promising a restoration the material can’t give.
Audience, time, and cost
Technicians treating automotive carpet and fabric upholstery after the dry soil is out. Specialty fibers, biohazards, mold, and flood contamination need a qualified assessment.
Time and costA few spots may take 45 minutes. Broad soil or several seats can run to hours once extraction and controlled drying are counted in.
Before you start
Learn what you can before you treat: fiber and backing where possible, previous products, the stain’s source and age, heat exposure, dye stability, what electronics sit underneath, and how the area will dry.
Tools and materials
- vacuum
- white test towels
- soft textile brushes
- extractor or controlled rinse/recovery tools
- air movers
- fiber-compatible spotters/cleaner
- rinse product if specified
- PPE
- absorbent towels
Steps
Do the work in order.
-
Step 1 Inspect and classify
Photograph the location and size, ask what caused it and what’s already been tried, check the fiber, dye, and backing, and note any hazards or electronics.
-
Step 2 Remove dry material
Vacuum thoroughly and lift any safe solid residue without grinding it deeper. Blot liquids. Don’t scrub at material you can’t identify.
-
Step 3 Test the least aggressive product
Test in an inconspicuous spot and against a white towel, watching for dye transfer, texture change, odor, and residue — all per the label’s directions.
-
Step 4 Treat from edge to center
Apply a controlled amount to the stain or to your towel or tool, respect the dwell, agitate gently where it’s allowed, and blot and recover again and again.
-
Step 5 Extract or rinse in controlled passes
Use the minimum compatible rinse and repeated dry recovery passes — never enough to saturate foam, seams, sensors, or backing.
-
Step 6 Groom and dry
Set the pile back in line, blot, ventilate, keep safe air moving, leave the vehicle open or controlled, and keep an eye on moisture and odor.
-
Step 7 Inspect after drying
Once dry, check color, texture, odor, wicking, tide marks, and residue under consistent light. Repeat a step only when it’s justified and safe.
Reference
Use the detail when you need it.
How it works
A stain is altered material or leftover residue, and no single product handles them all. Start dry, work out the likely chemistry, test it, treat from the outside in with as little product as possible, recover the residue, and dry fast. Stop the moment further treatment puts dye, texture, adhesive, foam, or backing at risk.
Terms used in this guide
- ColorfastnessHow well a material resists dye movement or color change while being cleaned.
- WickingDissolved soil riding toward the surface as a wet textile dries — the reason a stain you removed comes back.
Common mistakes
- Scrubbing before vacuuming.
- Hot water on an unknown protein stain.
- Mixing spotters.
- Flooding the fabric to chase a shadow.
- Judging the result before it’s fully dry.
- Closing up the vehicle while it’s damp.
Troubleshooting
- Stain reappears while dryingBlot and extract the residue in controlled passes, improve the drying, and reassess the backing for contamination — stronger chemistry is not the first move.
- Dye transfers to the test towelStop. Remove the product as directed, dry the area, and either use a material-safe specialist approach or decline further treatment.
- Odor remains after visible stain is goneCheck the padding, backing, and how deep the source goes. Revise the scope — masking it with fragrance is not a fix.
Finish
Check the result and close the loop.
What good looks like
- The stain never spread.
- The white-towel test showed dye under control.
- Foam and backing stayed unsaturated.
- No crunchy or sticky residue is left behind.
- The area is dry before the car closes up.
- Permanent dye or material damage is explained straight.
Final checklist
- Source and history recorded
- Dry soil removed
- Colorfast test passed
- Product and sequence logged
- Moisture controlled
- Residue recovered
- Drying verified
- Final result photographed
What to do next
- Go after source-level odor only if it’s approved.
- Hand over ventilation and drying instructions.
- Update condition pricing from the actual time spent.
More
Continue only where it helps.
Prerequisites
The Complete Interior Reset Process19 min readLearning paths with this guide
Learn Interior Detailing7 guidesFrequently asked questions
Can an extractor remove every stain?
No. Extraction is a recovery method, nothing more. Stain chemistry, dye, material damage, backing, and prior treatment decide the result.
Is hotter water better?
Not as a rule. Heat can set some soils and damage some materials. Follow the equipment, fiber, and product guidance.
Why did a stain return?
Usually wicking — leftover residue or deeper contamination riding up as it dries. Controlled recovery and drying beat adding product again and again.
Sources and review
Reviewed by DetailOAR Editorial Review on July 15, 2026. Verify current labels, interfaces, prices, and local requirements before acting.
Related field guides
 Detailing SkillsPet Hair and Odor RemovalTake on pet hair and odor the honest way: document the condition, protect yourself, recover the hair dry, treat the actual source, dry the materials, and skip unsafe masking and ozone claims.
 Detailing SkillsHow to Clean Leather, Plastics, Screens, and Interior GlassKnow what each interior surface is made of, use the gentlest compatible method that works, protect the controls and coatings, and leave leather, plastics, screens, and glass residue-free.
 Detailing SkillsFinal Quality Control, Customer Handoff, and Working Faster Without Cutting CornersPut staged quality gates, a fixed final inspection route, an evidence-based handoff, and honest time studies to work — and raise throughput without deleting safety or quality.