
DetailOAR Field Manual · Interior materials
How to Clean Leather, Plastics, Screens, and Interior Glass
Know what each interior surface is made of, use the gentlest compatible method that works, protect the controls and coatings, and leave leather, plastics, screens, and glass residue-free.
Save or use this guide
Contents
Start
Know the outcome.
Clean a cabin full of mixed materials without flooding anything, moving dye, adding gloss nobody asked for, damaging screen coatings, leaving streaks, or making controls slippery.
Audience, time, and cost
Technicians working modern interiors: coated leather, soft-touch plastics, piano black trim, touchscreens, films, and the surfaces the driver actually holds.
Time and costA maintained interior may take an hour. Intricate, heavily soiled, delicate, or damaged materials will take longer — let them.
Before you start
Check the owner’s manual where you can, identify the leather, coatings, trim, and aftermarket films, inspect for wear and dye loss, power screens down when appropriate, and test your products first.
Tools and materials
- soft vacuum attachments
- multiple soft brushes
- material-separated towels
- inspection light
- material-compatible cleaners
- screen-safe product or distilled-water method if approved
- glass cleaner
- PPE
Steps
Do the work in order.
-
Step 1 Identify and test materials
Study the grain, seams, coatings, wear, labels, films, and any prior dressing, then try the proposed method on a hidden spot.
-
Step 2 Remove dry particles
Vacuum the seams and crevices with soft tools, supporting fragile surfaces and keeping the hard nozzle off everything.
-
Step 3 Clean leather in sections
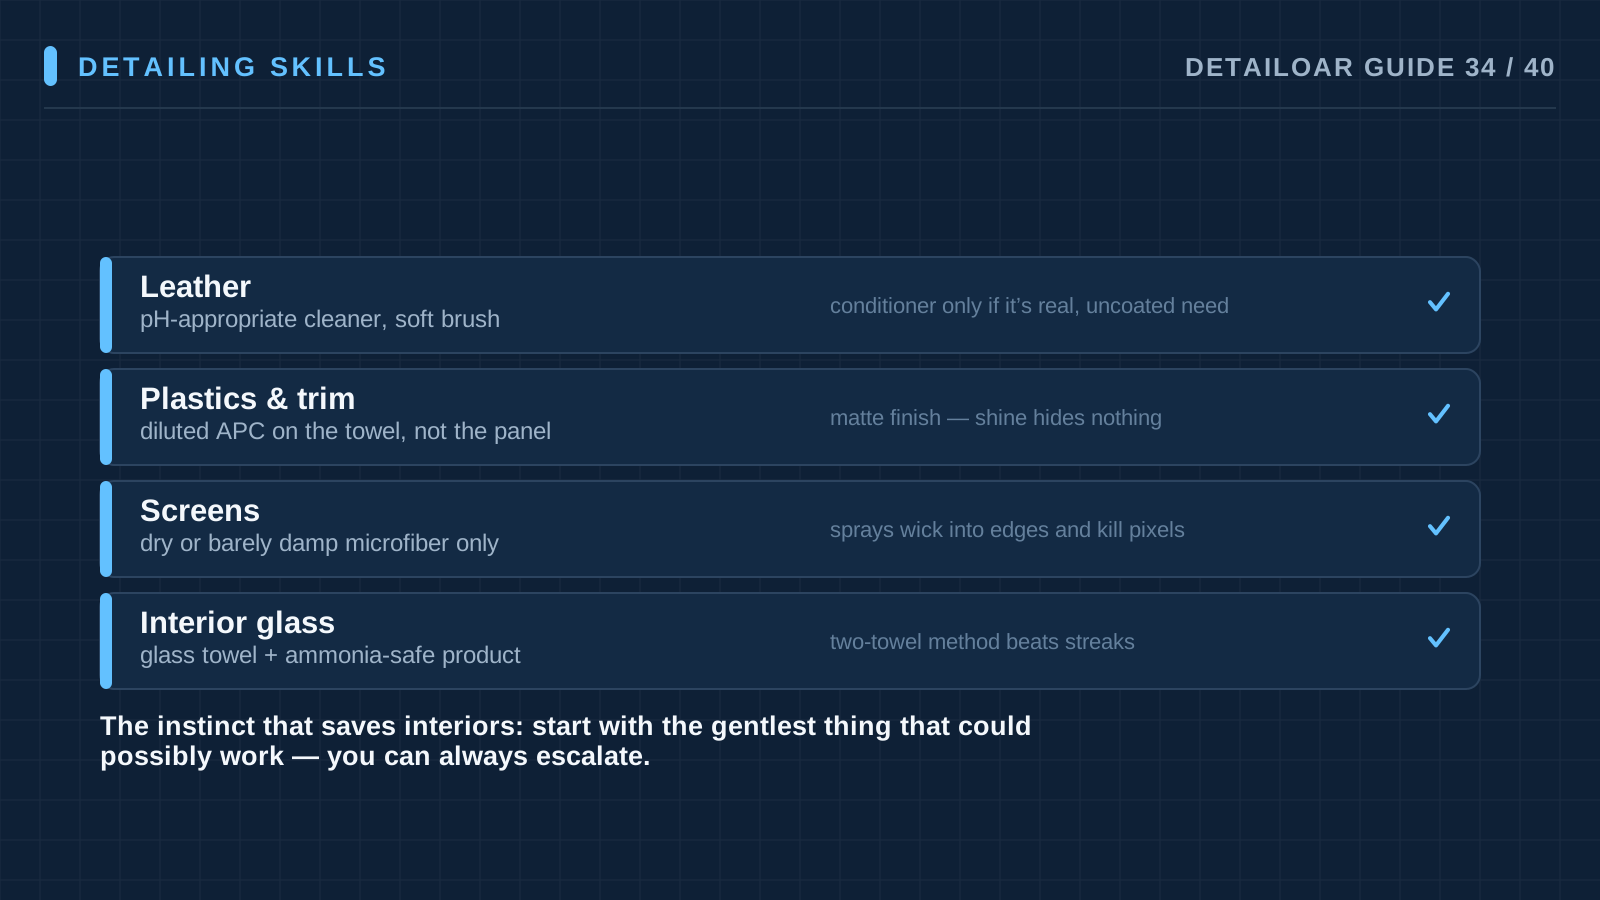
Apply compatible cleaner to the tool or towel, agitate gently, lift the residue with a clean towel, keep saturation out of it, and judge permanent wear as its own conversation.
-
Step 4 Clean plastics and trim
Use the least aggressive method, soft brushes for textured surfaces, and take residue off right away. Treat piano black and high-gloss trim as scratch-sensitive, because it is.
-
Step 5 Clean screens and controls
Power down where appropriate and let the screen cool. Put a little manufacturer-approved liquid on a clean soft towel, wipe without pressure, and dry with a second towel.
-
Step 6 Clean interior glass
Protect the dash and trim, use dedicated low-lint towels with a tint-compatible product, work the edges and change wipe direction, then check it from both seats.
-
Step 7 Final safety and residue check
Run your hands over the wheel, shifter, handles, seats, and controls. Clear off any slickness, lint, overspray, extra fragrance, or product hiding in seams.
Reference
Use the detail when you need it.
How it works
Most modern leather is coated, and plenty of plastics and screens carry finishes that don’t forgive. You’re after clean, even, dry, and low-residue — not maximum shine. Separate tools are what keep glass film, dressing, and dye from wandering where they shouldn’t.
Terms used in this guide
- Coated leatherLeather with a protective pigmented surface finish, which usually calls for finish-compatible cleaning.
- Anti-reflective coatingA delicate treatment on the screen’s surface that harsh products or abrasion can damage.
Common mistakes
- Assuming every leather surface wants conditioner.
- Household glass cleaner on an unknown tint or film.
- Spraying a screen directly.
- Scrubbing piano black trim.
- One towel pulling double duty on dressing and glass.
- Burying dye loss under product.
Troubleshooting
- Leather remains shiny or stickyWork out what’s actually there — soil, old dressing, coating damage, or product residue — then run a compatible, controlled removal test instead of scrubbing harder.
- Screen shows rainbow patchesStop right there, and no more product. Use the manufacturer-approved method and document possible coating damage.
- Glass streaks returnSwitch to clean dedicated towels, use less product, clean the edges, change your final wipe direction, and look for dash off-gassing or film residue.
Finish
Check the result and close the loop.
What good looks like
- Leather and plastics wear an even, factory-like finish.
- The final clean towel shows no dye beyond expected removable soil.
- Screens keep their coating uniform and their clarity.
- Glass carries no haze at the edges.
- Controls and belts are dry with real grip.
- Tools stayed separated by material, start to finish.
Final checklist
- Materials identified
- Test spots passed
- Dry grit removed
- Leather and plastic residue lifted
- Screens treated safely
- Glass inspected twice
- Driver controls non-slip
- Final photos complete
What to do next
- Give the customer simple, material-safe care guidance.
- Send contaminated towels into the correct wash stream.
- Document any permanent coating or dye damage.
More
Continue only where it helps.
Prerequisites
The Complete Interior Reset Process19 min readLearning paths with this guide
Learn Interior Detailing7 guidesFrequently asked questions
Does leather always need conditioner?
No. Follow the material and product manufacturer guidance; many coated automotive leathers mainly need gentle cleaning and compatible protection.
Can glass cleaner damage tint?
It can — some products and plain abrasion are incompatible. Stick to film-manufacturer-approved methods and start with a test spot.
Why should screens be cool and off?
You can see residue better and the product doesn’t dry out from the heat. Always follow the vehicle and manufacturer guidance, and leave safety-critical settings alone.
Sources and review
Reviewed by DetailOAR Editorial Review on July 15, 2026. Verify current labels, interfaces, prices, and local requirements before acting.
Related field guides
 Detailing SkillsCarpet and Upholstery Stain Removal and ExtractionFigure out the stain and the fiber before touching either, test for colorfastness, use controlled chemistry and gentle agitation, extract with minimal moisture, dry fully, and note what won’t come out.
 Detailing SkillsPet Hair and Odor RemovalTake on pet hair and odor the honest way: document the condition, protect yourself, recover the hair dry, treat the actual source, dry the materials, and skip unsafe masking and ozone claims.
 Detailing SkillsFinal Quality Control, Customer Handoff, and Working Faster Without Cutting CornersPut staged quality gates, a fixed final inspection route, an evidence-based handoff, and honest time studies to work — and raise throughput without deleting safety or quality.