
DetailOAR Field Manual · Visual proof
How to Take Before-and-After Photos That Sell the Work
Shoot consistent, honest before-and-after photos that document condition, show off real workmanship, and keep your customers’ privacy protected.
Save or use this guide
Contents
Start
Know the outcome.
Get a repeatable photo routine that shows condition and results fairly, and keeps private inspection evidence separate from approved marketing shots.
Audience, time, and cost
Owners and techs who want better proof without pricey camera gear or edits that stretch the truth.
Time and costA planned set takes 10–20 minutes. A phone, a lens cloth, and steady lighting are plenty to start.
Before you start
Set up consent choices for job documentation and public marketing. Decide where private files live, how long you keep them, and who’s allowed to publish.
Tools and materials
- phone or camera
- clean lens cloth
- repeatable lighting and position markers
- photo consent
- shot list
- privacy checklist
Steps
Do the work in order.
-
Step 1 Confirm the photo boundary
Open the job record and check documentation permission. Check marketing permission separately, then keep the files private unless the recorded choice allows publication.
-
Step 2 Clean the lens, then capture condition
Wipe the lens and take a sharp, level test shot with filters off. Then capture the four corners, panels, wheels, interior zones, and any needed damage close-ups paired with a wider view.
-
Step 3 Create matched anchors
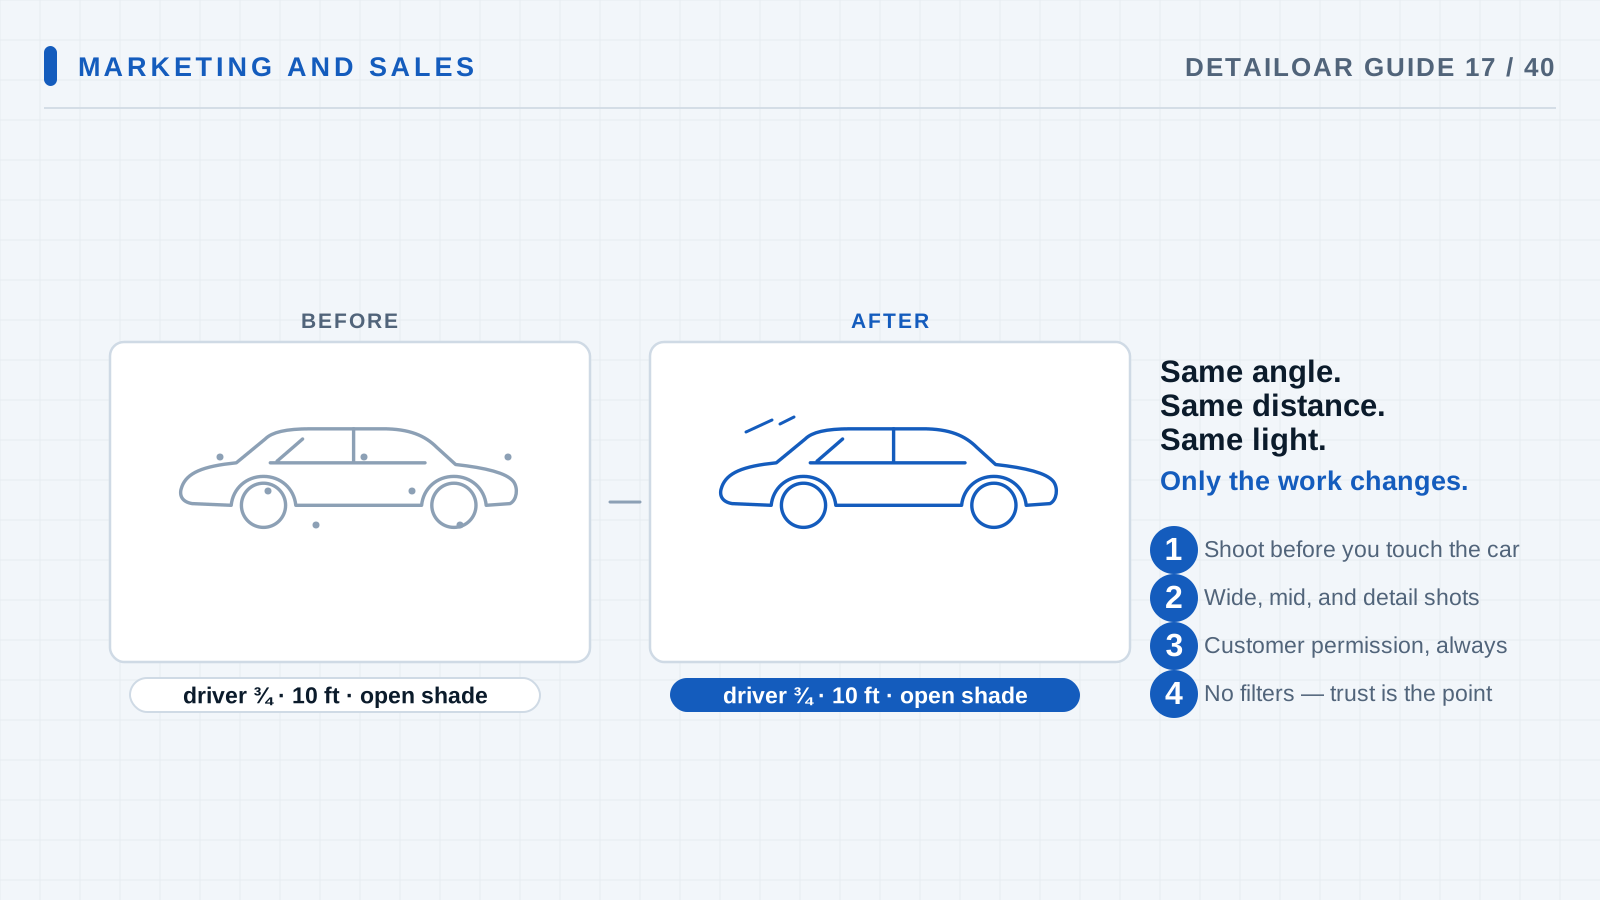
For each planned comparison, mark where you stand, camera height, zoom, vehicle position, doors, seats, and the lighting.
-
Step 4 Photograph the process selectively
Grab the stages that mean something and are safe to shoot: inspection, test spot, decontamination, an extraction pass, coating setup. Don’t hold up the work for it.
-
Step 5 Capture the final set before handoff
After QC, recreate every anchor. Clear out tools and towels, straighten mats and controls, and include honest close-ups of whatever limits remain.
-
Step 6 Edit with a light touch
Crop, straighten, and make small global exposure or white-balance fixes to both shots equally. Never erase defects or change the outcome.
-
Step 7 Store, label, and publish by permission
Attach the private originals to the job, record consent, export optimized copies with useful names, write descriptive alt text, and publish only what’s approved.
Reference
Use the detail when you need it.
How it works
Matched conditions are what make a transformation believable. Camera position, focal length, light, vehicle state, and edits should all be comparable. Inspection photos are evidence; marketing photos are communication. Treat them as two separate permission and storage decisions.
Terms used in this guide
- Shot listThe same short list of required views, captured on every suitable job.
- White balanceThe camera setting that keeps neutral colors looking the same under different light.
Common mistakes
- Shooting the after in different light, or wet, to fake extra gloss.
- Cropping an unchanged area out of the after shot only.
- Posting plates or a customer’s belongings.
- Leaning on heavy HDR or filters.
- Keeping only the squashed social copies.
Troubleshooting
- The after looks worse than the work deservesMatch the original angle and exposure, wipe the lens, tame mixed light, and add more truthful detail views.
- A defect won’t show on cameraUse controlled, directional inspection lighting and shoot both a locating view and a close-up. Don’t edit the defect away.
- Consent is fuzzyKeep the media private and ask for explicit permission. “Nobody objected” is not a publication workflow.
Finish
Check the result and close the loop.
What good looks like
- Angles and lighting match.
- Close-ups come with context.
- Leftover flaws aren’t hidden.
- Private evidence stays access-controlled.
- Public files carry permission, useful names, right dimensions, and alt text.
Final checklist
- Consent choice recorded
- Lens clean
- Condition set shot
- Matched anchors captured
- Final set through QC
- Private originals locked down
- Public copies optimized, with alt text
What to do next
- Put approved proof on your service pages.
- Batch a week of social content from it.
- Pull up inspection photos at handoff.
More
Continue only where it helps.
Learning paths with this guide
Get Your First 20 Customers9 guidesFrequently asked questions
Do I need a professional camera?
No. Consistency, a clean lens, controlled light, steady framing, and honest editing beat an expensive camera every time.
Can I post a vehicle if the plate is blurred?
Blurring the plate alone may not cover your permission or privacy duties. Follow the consent you recorded and applicable law.
Should the after photo be taken wet?
Only if the comparison and caption say so plainly. A dry, inspected result usually reads as more credible when judging the finish.
Sources and review
Reviewed by DetailOAR Editorial Review on July 15, 2026. Verify current labels, interfaces, prices, and local requirements before acting.
Related field guides
 Marketing and SalesA Simple Social Media Content System for DetailersTurn everyday jobs and customer questions into a weekly content routine you can keep up, with permissions, captions that teach, and lead tracking.
 Marketing and SalesHow to Build a Detailing Website That Turns Visitors Into LeadsBuild a fast, credible detailing site that answers the questions buyers actually have, shows real work, and points every visitor to one clear next step.
 Detailing SkillsFinal Quality Control, Customer Handoff, and Working Faster Without Cutting CornersPut staged quality gates, a fixed final inspection route, an evidence-based handoff, and honest time studies to work — and raise throughput without deleting safety or quality.