
DetailOAR Field Manual · Payments and invoicing
Connect Payments and Send Your First Invoice
Pick demo mode, Stripe Connect, direct Stripe keys, or external payment recording — then create, send, collect, and reconcile your first invoice.
Save or use this guide
 View full size
Contents
Start
Know the outcome.
Steps
Do the work in order.
-
Step 1 Connect Stripe
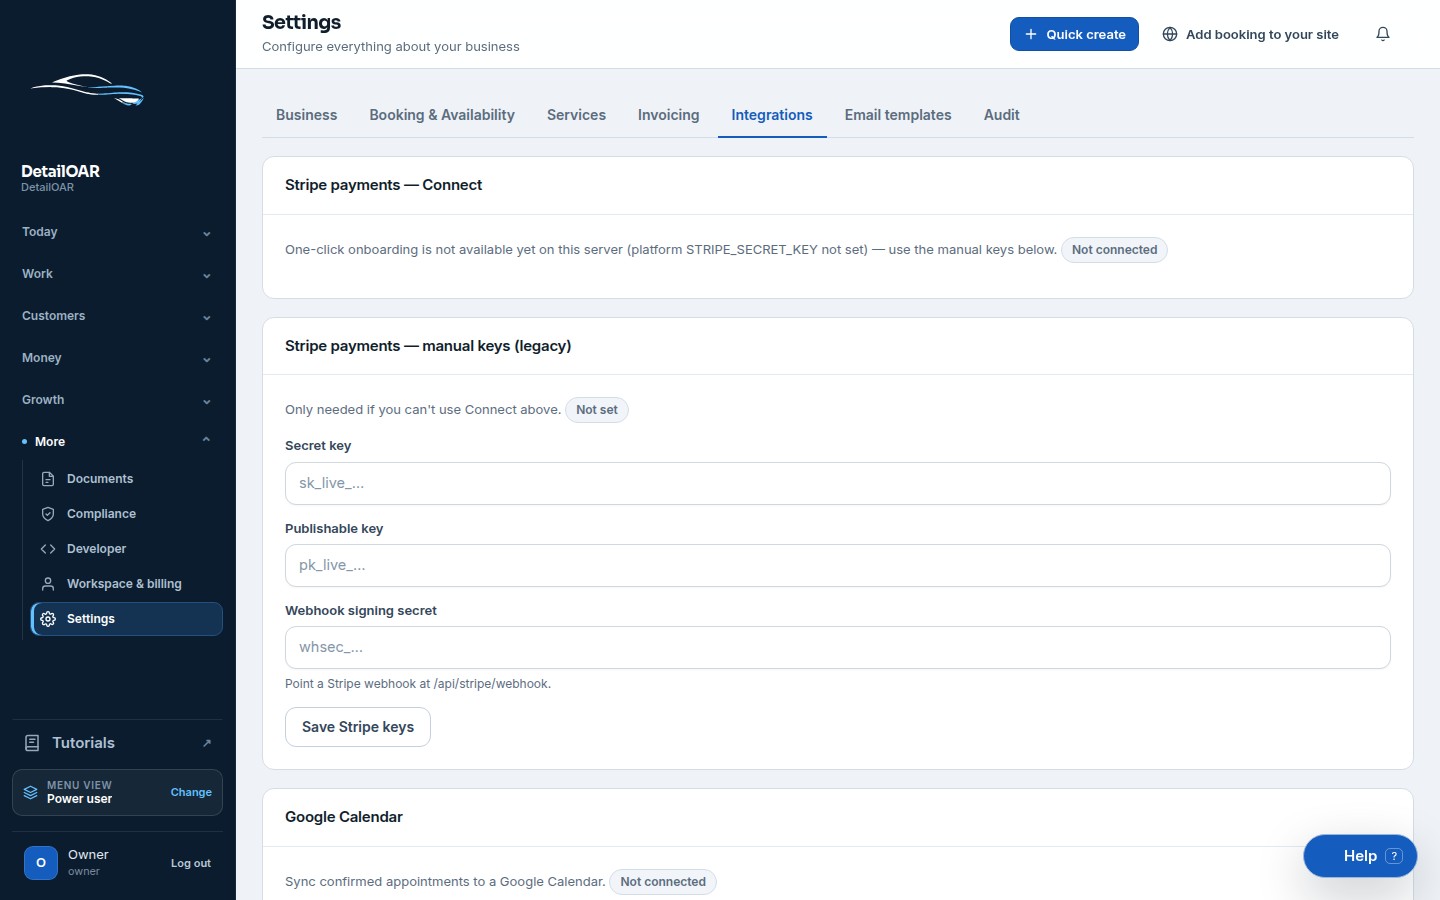
Open Settings, Integrations, then Payments.
Choose Connect with Stripe. Work through the provider-hosted identity, bank, and business steps — and never paste credentials into notes or support chat.
Head back to Settings and choose Refresh status. Charges and payouts should show enabled before any live payment links go out.
If you’re using direct keys, save only the supported restricted/test or live values in the dedicated fields, and confirm the interface redacts secrets after save.
Set the documented webhook URL and signing secret in the provider dashboard. Never use an endpoint secret as an API key.
-
Step 2 Create the first invoice
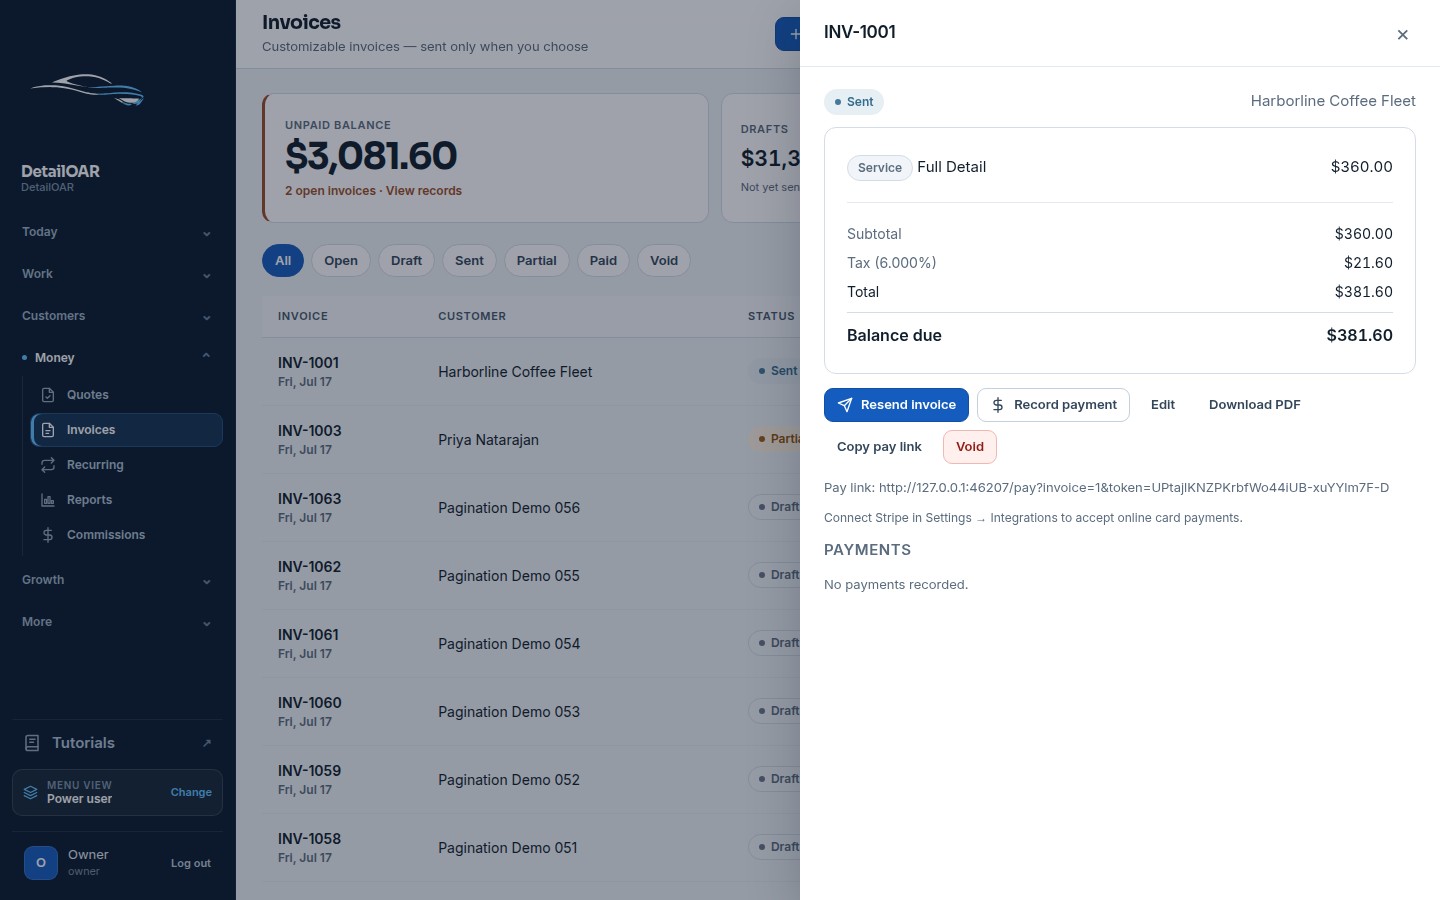
Open Invoices and choose New invoice.
 View full size
Pick the customer and vehicle. Add service presets or Custom line items with quantity, amount, and Taxable state.
Apply any reviewed discount and tax setting, then read through subtotal, discount, tax, total, recorded payments, and balance.
Save the draft. Reopen it and check the customer, vehicle, due date, and line descriptions.
Choose Send only when the invoice is truly ready. In demo mode, check the console/database outbox; in live mode, confirm delivery through the provider and message log.
-
Step 3 Collect or record payment
Open the secure payment link the way a customer would. Check business name, invoice number, amount, and remaining balance before entering provider test data.
Complete the test payment. Back on the invoice, confirm one financial event exists — not two — and the status moves to Partial or Paid.
For cash or an outside terminal, choose Record payment and enter the truthful method, amount, date, and reference.
If a payment fails, don’t mark it paid by hand just to clear the screen. Fix the provider state, or record the external method that was actually used.
Reference
Use the detail when you need it.
Choose a payment mode
- Demo mode: safe local/test behavior — never present it as a live processor.
- Connect with Stripe: the preferred hosted onboarding path when platform Connect is configured.
- Direct Stripe keys: a workspace-owned integration for deployments that intentionally support it.
- External payment: record cash, check, transfer, or an outside terminal honestly, without pretending DetailOAR processed the funds.
Refunds and corrections
Use the supported refund/adjustment state and keep the original financial event. Never delete payment history to make totals look tidier. Provider refunds and the internal ledger have to reconcile through signed, idempotent events or an explicitly audited external adjustment.
What good looks like
- Processor status reads configured and live-ready at a glance.
- Secrets never come back to the browser.
- Customer document totals match your hand calculation.
- One payment produces one ledger event.
- Partial, paid, failed, void, and refund states stay easy to tell apart.
Troubleshooting
- Checkout unavailable: refresh the Connect status and check charges are enabled.
- Webhook signature failed: use the exact endpoint signing secret and the raw request body — never bypass verification.
- Invoice still unpaid: read the provider event log, application audit log, external reference, and amount/currency before you retry.
- Overpayment rejected: collect only the remaining balance, or issue a revised invoice under the business policy.
Finish
Check the result and close the loop.
Final checklist
- Correct payment mode selected.
- Live readiness verified before sending.
- Webhook signed and tested.
- Invoice totals reconciled.
- Demo or provider payment created one event.
- Receipt and outstanding balance verified.
More
Continue only where it helps.
Learning paths with this guide
Set Up DetailOAR8 guidesFrequently asked questions
Can I use DetailOAR without Stripe?
Yes. Record truthful external payments and stay in demo mode until a provider is configured.
Where should API keys be stored?
Only in the supported encrypted integration fields or your production secret manager — not source code, notes, or browser storage.
Why is the webhook important?
It lets the server verify provider-confirmed payment state and apply each event exactly once.
Sources and review
Reviewed by DetailOAR Product Team on July 15, 2026. Verify current labels, interfaces, prices, and local requirements before acting.
Related field guides
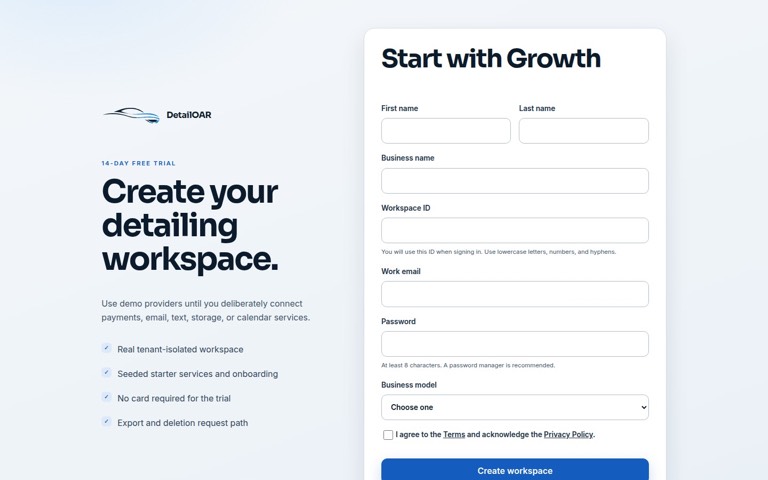 Software helpCreate Your Account and Business WorkspaceSpin up a tenant-isolated workspace, pick the right plan and business model, sign in, and confirm the owner session before any customer data goes in.
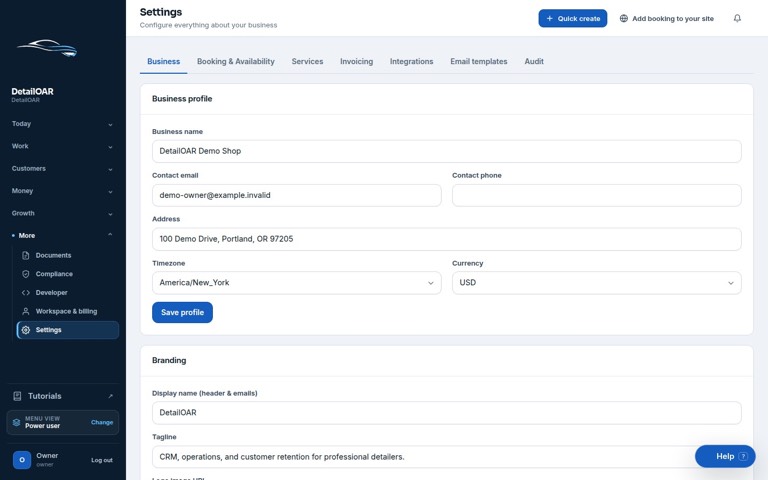 Software helpAdd Your Logo, Contact Details, Hours, and Service AreaFill in the public business profile and branding, then set weekly availability, exceptions, arrival rules, and your mobile service boundaries.
 Software helpImport Existing Customers and Vehicle RecordsPrep, preview, dedupe, import, verify, and export customer and vehicle data — without any of it landing in the wrong workspace.