
DetailOAR Field Manual · Account and workspace
Create Your Account and Business Workspace
Spin up a tenant-isolated workspace, pick the right plan and business model, sign in, and confirm the owner session before any customer data goes in.
Save or use this guide
 View full size
Contents
Start
Know the outcome.
What you will accomplish
You’ll create one DetailOAR workspace and its first Owner account. Think of a workspace as the private boundary around one detailing business: customers, vehicles, jobs, media, financial records, messages, team members, and settings all stay scoped inside it.
Before you start
- Use an email address the owner controls for the long haul.
- Pick a Workspace ID built from lowercase letters, numbers, and hyphens.
- Decide up front whether the business is Mobile, Shop, or Hybrid.
- Let a password manager generate a unique password — at least 8 characters is required, and longer is stronger.
Steps
Do the work in order.
-
Step 1 Create the workspace
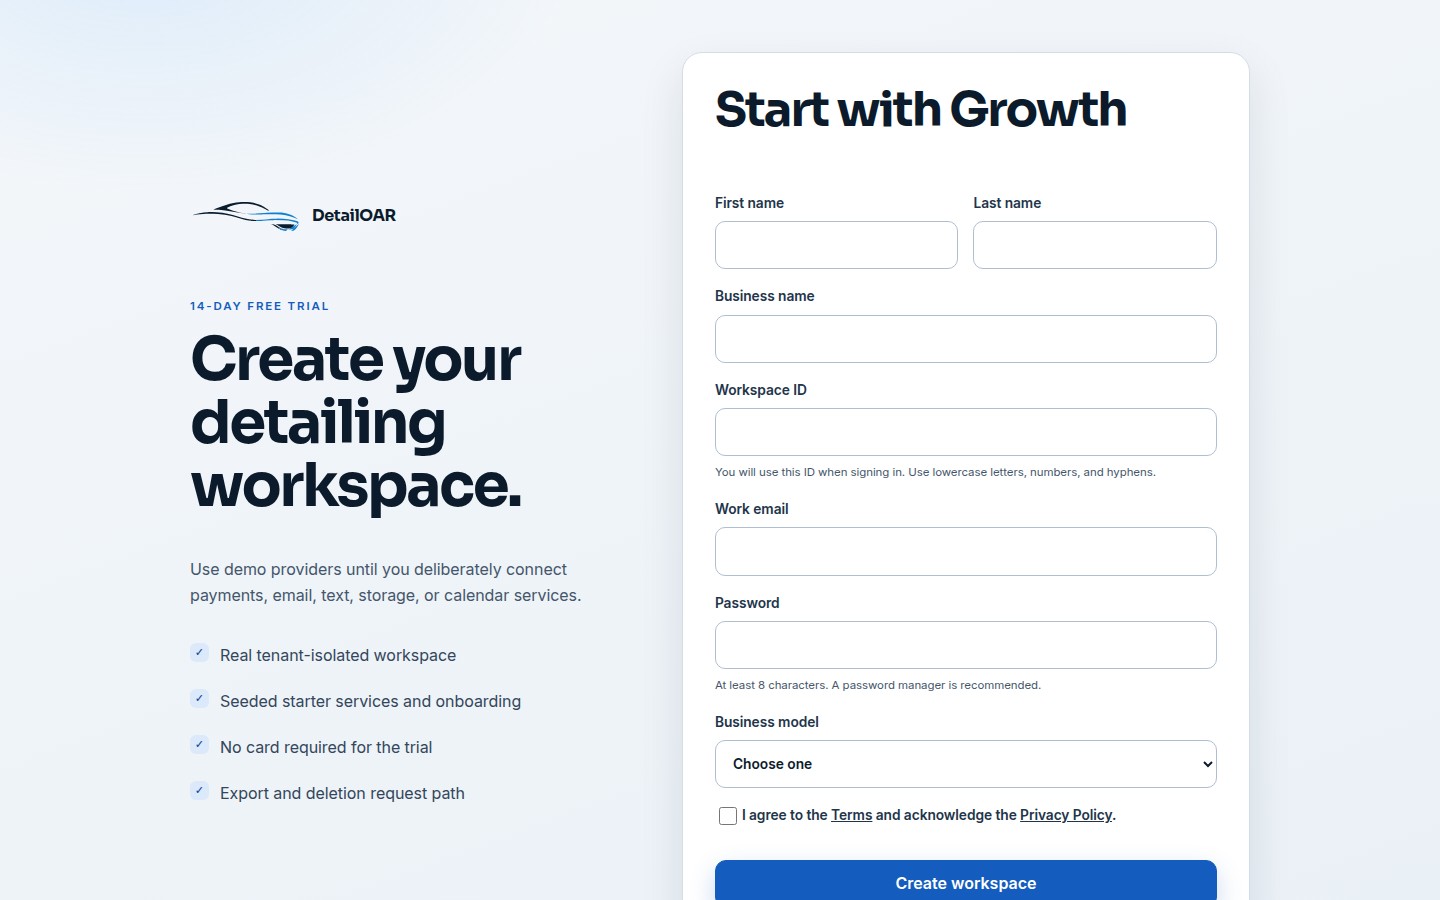
Open Create your workspace. Under Start with, check that the plan shown is the one you meant to trial — you can hop back to Pricing if it isn’t.
Enter First name, Last name, and Business name. The Workspace ID fills itself in from the business name; edit it before you submit if it’s unclear or too long.
Enter Work email and Password. Don’t reuse a password from email, banking, payment, or social accounts.
Pick Mobile, Shop, or Hybrid under Business model. This sets up the relevant booking defaults, but it doesn’t lock the business into that model.
Open the Terms and Privacy Policy links in new tabs, actually read them, then select the acknowledgment only if you agree.
Choose Create workspace once, then wait for the status message. Repeat clicks are disabled while the server builds the tenant, owner, trial, starter catalog, onboarding checklist, audit event, and signed-in session.
 View full size
-
Step 2 Verify the workspace boundary
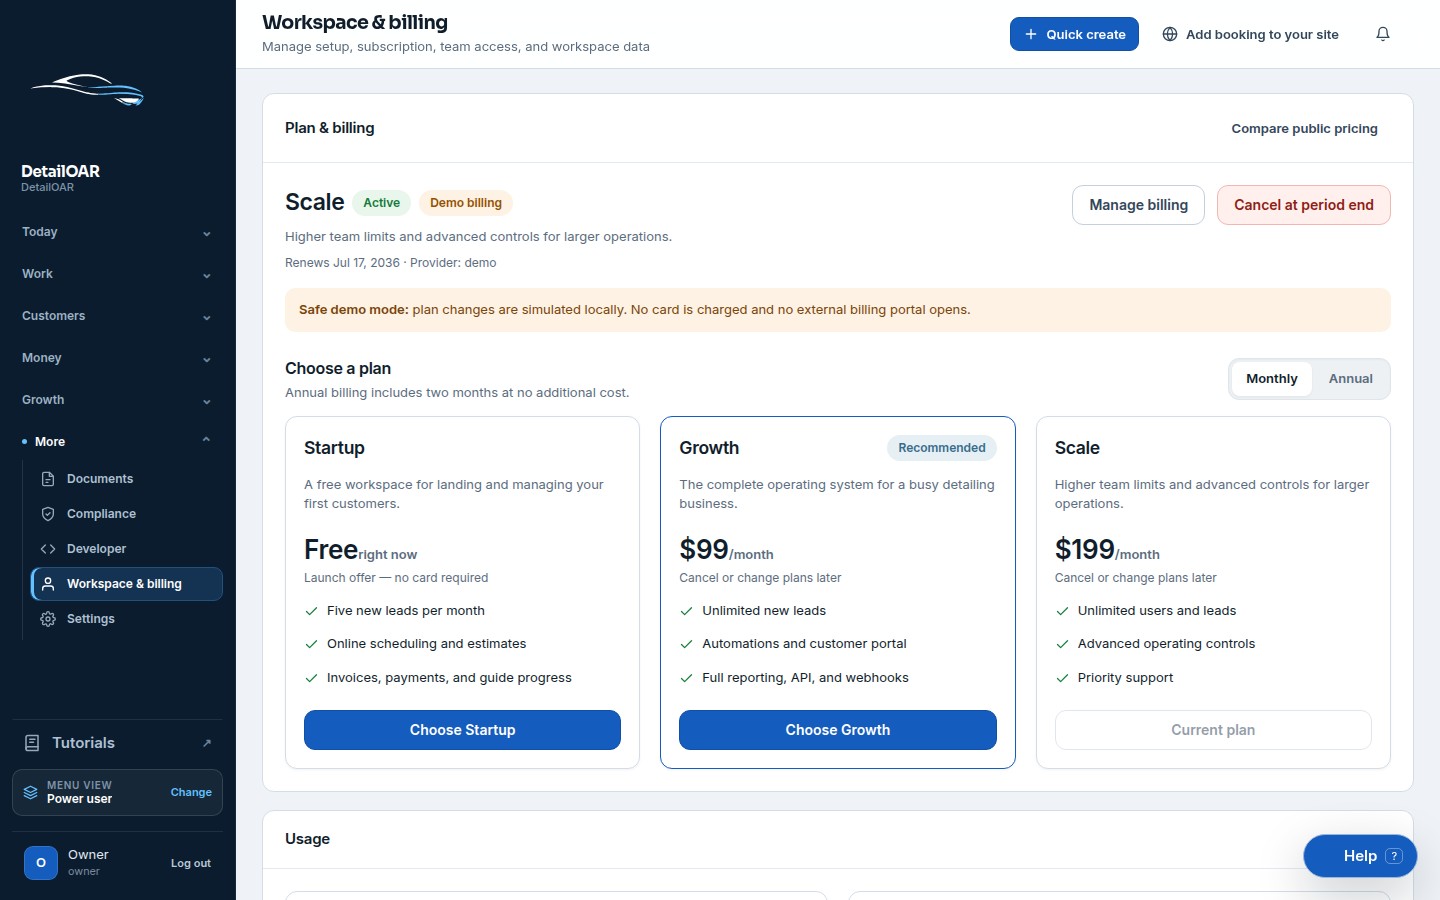
Open the user menu and check the business name it displays, plus your Owner role.
Open the signup confirmation email and save the Workspace ID and sign-in link in the owner’s password manager. If the message is missing, check spam and ask the platform operator to inspect the email outbox and provider event.
Open Settings → Business and look over the business name, contact details, address, time zone, and currency. The Workspace ID is the permanent sign-in identifier you chose at signup — it doesn’t change.
Log out, open Log in, enter the Workspace ID, email, and password, and make sure you land back in the same business.
Reference
Use the detail when you need it.
Common mistakes
- Spinning up separate workspaces for two locations that should share customers and reporting.
- Using a throwaway personal email that can’t receive reset or security messages.
- Sneaking spaces or punctuation into the Workspace ID.
- Sharing one Owner login instead of inviting separate accounts.
Troubleshooting
- Workspace ID already used: pick a clearer unique variation — IDs can’t be shared between tenants.
- Workspace ID forgotten: choose Forgot workspace ID? on Log in and enter the account email. The response never reveals whether an account exists; matching workspace IDs arrive only by email.
- Email already belongs to that workspace: use Log in or Request password reset instead of creating a duplicate owner.
- Reset email missing: enter the exact Workspace ID and account email, then check spam. The request screen intentionally shows the same response for matching and nonmatching accounts.
- Form won’t move on: read the live error message, fix the field it names, and submit once more.
- Wrong business after login: log out and double-check the Workspace ID before entering any data.
Finish
Check the result and close the loop.
Final checklist
- Business name and Workspace ID look right.
- Signup confirmation is saved when live email is enabled.
- Owner can log out and back in.
- Trial/plan status is visible.
- No customer data has landed in the wrong workspace.
- Owner password lives in a password manager.
What to do next
Head to Add Your Logo, Contact Details, Hours, and Service Area next. Hold off on inviting the team or connecting live providers until the basic business profile and permissions are right.
More
Continue only where it helps.
Learning paths with this guide
Set Up DetailOAR8 guidesFrequently asked questions
Can two businesses use the same Workspace ID?
No. The ID points to exactly one tenant, so it has to be unique.
Do I need a card to create the trial?
No. The default trial creates a workspace without asking for a card.
Can I change Mobile, Shop, or Hybrid later?
Yes. Update the business model and booking configuration in Settings, then recheck availability after the change.
Sources and review
Reviewed by DetailOAR Product Team on July 15, 2026. Verify current labels, interfaces, prices, and local requirements before acting.
Related field guides
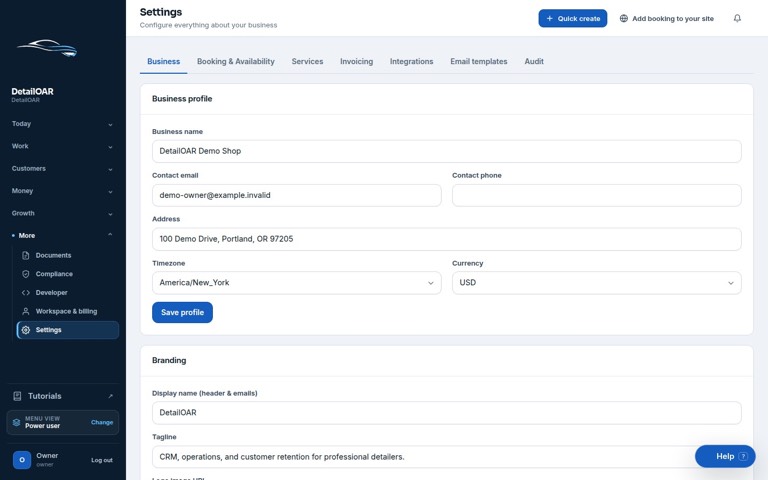 Software helpAdd Your Logo, Contact Details, Hours, and Service AreaFill in the public business profile and branding, then set weekly availability, exceptions, arrival rules, and your mobile service boundaries.
 Software helpImport Existing Customers and Vehicle RecordsPrep, preview, dedupe, import, verify, and export customer and vehicle data — without any of it landing in the wrong workspace.
 Software helpCreate Services, Packages, Add-Ons, and Vehicle-Size PricingBuild out sellable services with durations, booking behavior, deposits, size prices, invoice presets, and package/add-on conventions everyone can follow.