
DetailOAR Field Manual · Vehicle inspection
Complete a Vehicle Inspection and Upload Before-and-After Photos
Open your assigned job, record existing condition, capture consistent private media, get the acknowledgment, work the checklist, and organize finished-work photos.
Save or use this guide
 View full size
Contents
Start
Know the outcome.
Steps
Do the work in order.
-
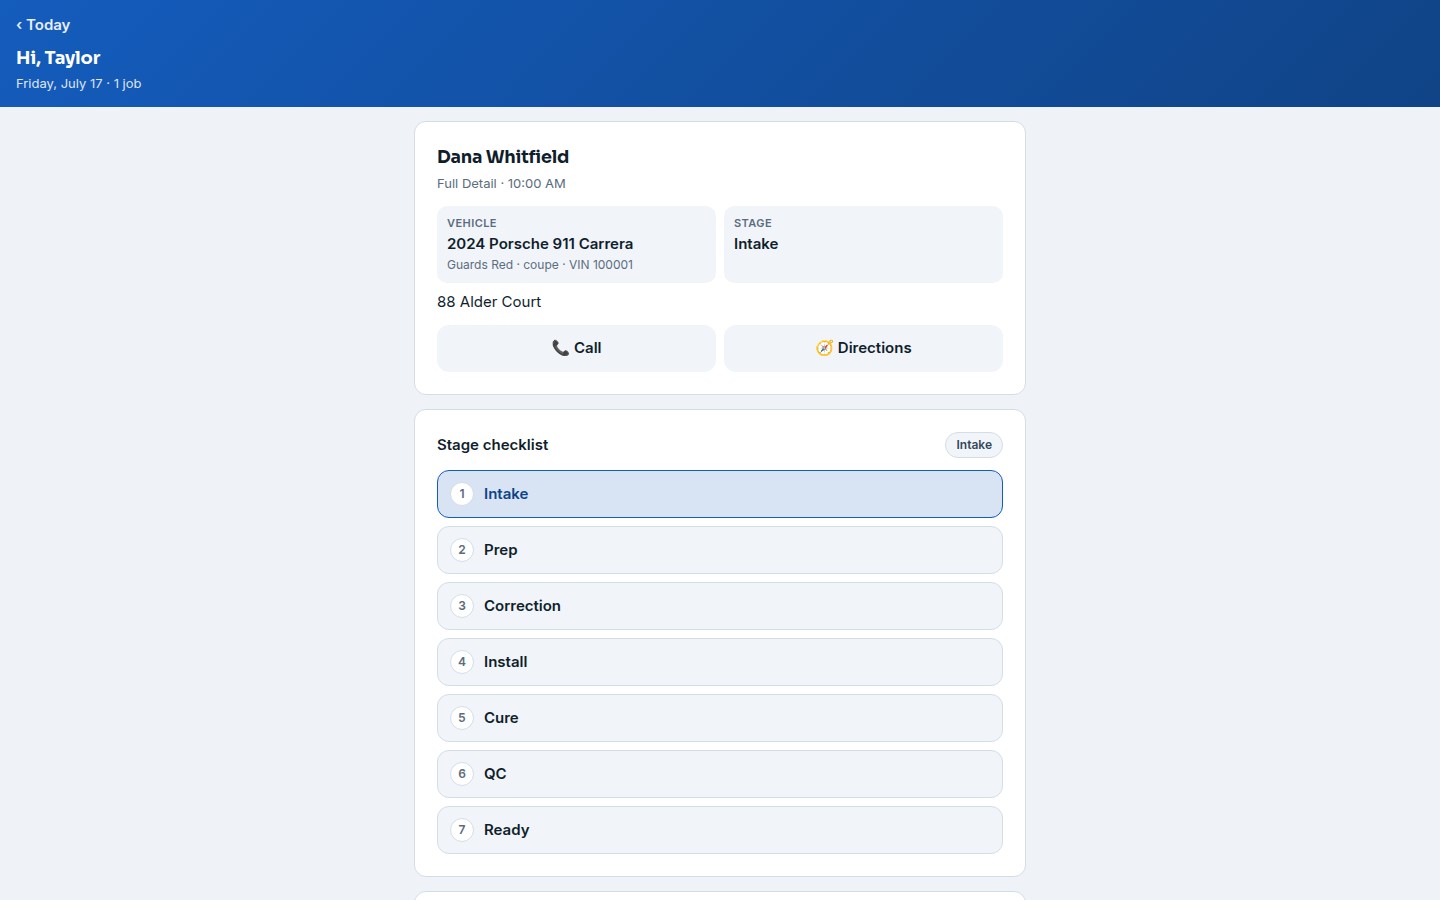
Step 1 Open the correct job
Open the technician Field access link on the approved device.
Choose the assigned date and job, then check customer, vehicle year/make/model/color, plate or VIN when used, service, location, and scheduled time.
If the vehicle on screen doesn’t match the one in front of you, stop. Call the office and fix the assignment before uploading media or starting time.
-
Step 2 Record check-in condition
Choose Start job or the workspace’s check-in action.
Read the existing vehicle/customer notes — but don’t treat an old note as proof of today’s condition.
Walk around the vehicle in stable light. Record dirt, chips, scratches, dents, curb rash, cracked trim/glass, warning lights, loose items, aftermarket parts, and anything the service won’t address.
Choose Add photo and category Damage or Check-in. Shoot wide orientation shots first, then close details with a second angle or reference point.
Add a plain note naming the panel/location and what you can see. Skip conclusions about cause unless the evidence backs them up.
Have the customer look the record over. Capture Acknowledgment or Signature on the current job sheet — acknowledgment records that they saw it, not a waiver of every right.
-
Step 3 Use progress media and checklist
Move the job Stage only when that stage genuinely starts or finishes.
Work the configured checklist in order. Never mark a safety, damage, or quality item complete without doing it.
Use Progress photos for hidden condition or approved scope changes, and talk to the customer before adding chargeable work.
Keep the device locked when it’s unattended, and never pull private media into an unapproved personal gallery.
-
Step 4 Capture completion
Complete final quality control in consistent light.
 View full size
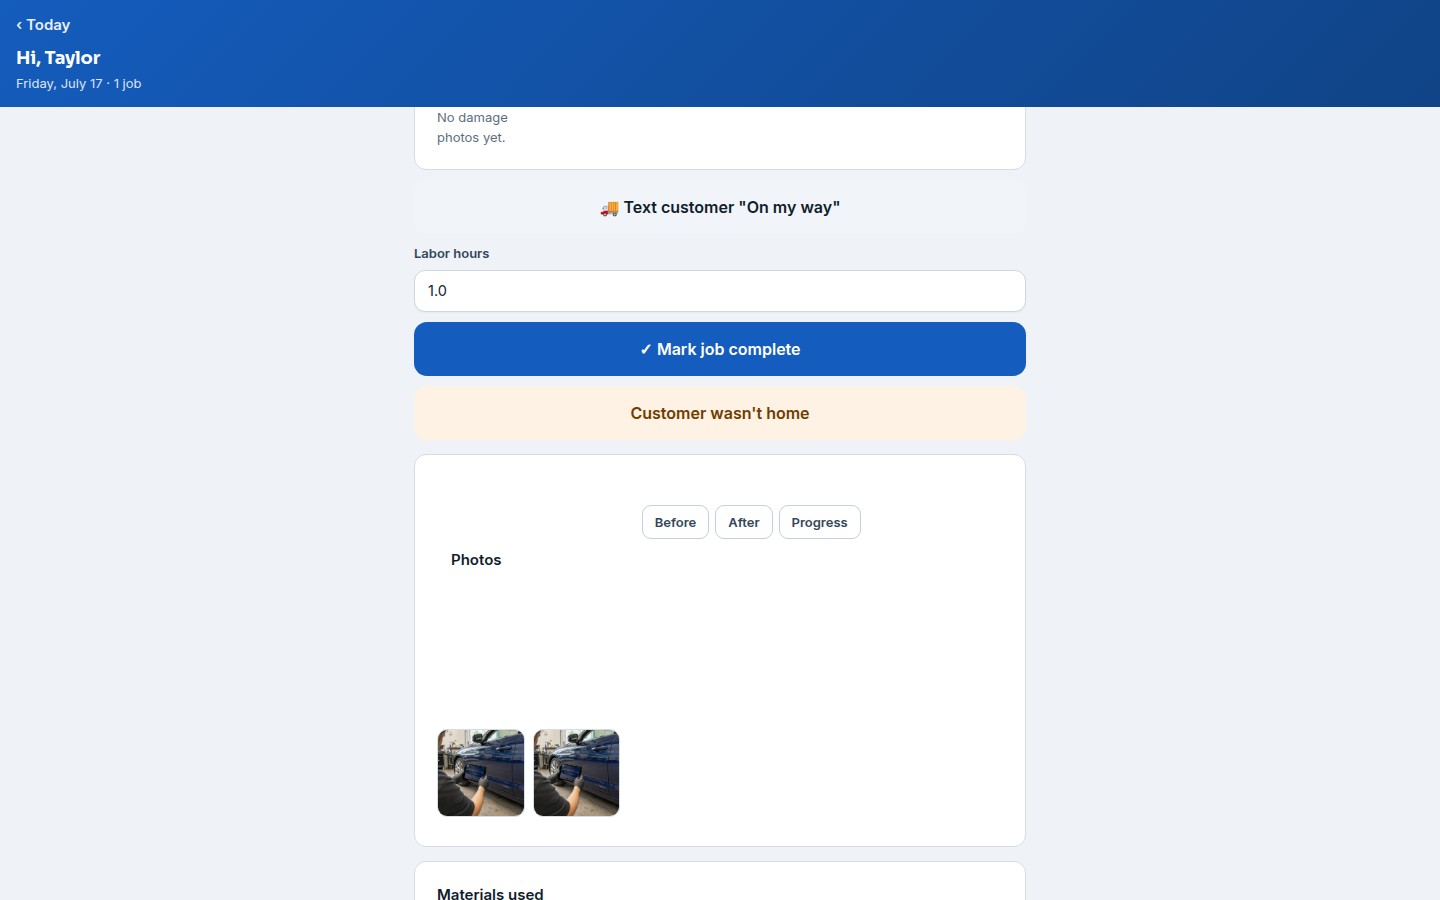
Choose Add photo and category After. Match the important before angles when a comparison helps.
Record any remaining limitation or customer-visible note honestly.
Get the supported completion confirmation/handoff, and mark the job Completed only once required tasks, media, and payment/handoff conditions are all met.
Open the job from the office view and check the files sit on the correct appointment and vehicle.
Reference
Use the detail when you need it.
Protect the customer and the record
Inspection media can catch plates, addresses, children’s items, documents, faces, garage interiors, and other private details. Capture only what the job needs, keep files in the job’s private media area, and never reuse them for marketing without separate documented permission.
What good looks like
- Correct vehicle confirmed before work.
- Wide context plus close detail on every existing issue.
- Notes give location and observation, not speculation.
- Acknowledgment is timestamped.
- After images use useful matching angles.
- No private media ends up publicly exposed.
Troubleshooting
- Upload rejected: use a supported image type under the size limit and a stable connection — don’t rename the file extension to sneak past validation.
- Wrong job received a photo: tell an Owner immediately and use the supported delete/re-upload path, then review access and audit history.
- Field link expired/revoked: ask the manager to Create / rotate link instead of borrowing another installer’s token.
- Connection drops: keep the inspection draft in the supported offline queue if there is one; otherwise don’t mark complete until the secure upload lands.
Finish
Check the result and close the loop.
Final checklist
- Customer/vehicle/job matched.
- Existing damage noted and photographed.
- Acknowledgment recorded.
- Checklist and stages accurate.
- After photos complete.
- Office view confirms private file organization.
More
Continue only where it helps.
Learning paths with this guide
Set Up DetailOAR8 guidesFrequently asked questions
Should I photograph every inch of the car?
Capture a consistent overview plus anything relevant to risk, scope, or customer expectations — and skip private details you don’t need.
Can inspection photos be used on social media?
Not automatically. Get separate documented marketing permission first, and remove private identifiers.
What if the customer isn’t present?
Follow the business’s approved remote/drop-off acknowledgment procedure, and note who supplied access and when.
Sources and review
Reviewed by DetailOAR Product Team on July 15, 2026. Verify current labels, interfaces, prices, and local requirements before acting.
Related field guides
 Detailing SkillsVehicle Check-In, Inspection, and Damage DocumentationA calm, repeatable check-in that confirms who and what you’re working on, records the condition the car arrived in, keeps media private, and gets acknowledgment before work begins.
 Detailing SkillsFinal Quality Control, Customer Handoff, and Working Faster Without Cutting CornersPut staged quality gates, a fixed final inspection route, an evidence-based handoff, and honest time studies to work — and raise throughput without deleting safety or quality.
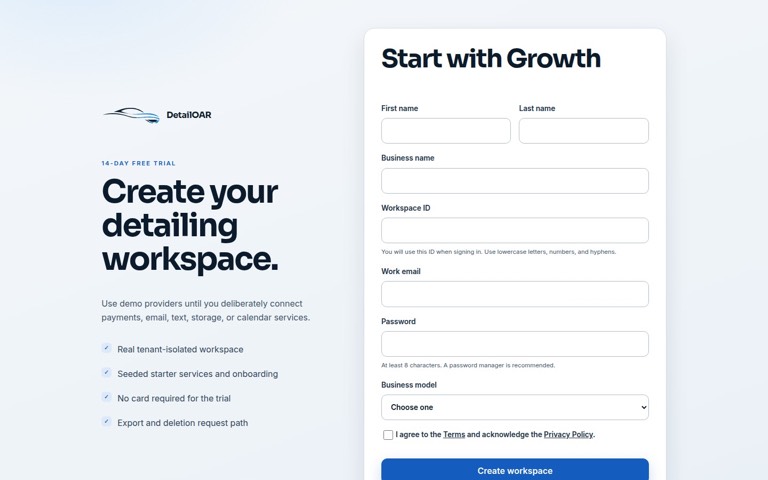 Software helpCreate Your Account and Business WorkspaceSpin up a tenant-isolated workspace, pick the right plan and business model, sign in, and confirm the owner session before any customer data goes in.