
DetailOAR Field Manual · Advanced paint correction
Paint Correction: Defect Inspection, Test Spots, and Multi-Step Polishing
Plan advanced correction like the irreversible work it is: classify defects and paint risk, prove the test system, keep cut and finish stages separate, control heat and residue, and refuse unsafe removal.
Save or use this guide
Contents
Start
Know the outcome.
Deliver the safest improvement the customer agreed to, through documented test spots and separate cutting and refining stages — without treating every defect as removable.
Audience, time, and cost
Experienced technicians who can already lay down a haze-free one-step finish and understand how machines, pads, products, edges, and paint systems behave together.
Time and costMulti-step work commonly occupies one to three days. Complexity, curves, trim, paint hardness, prior repair, and the target finish all drive the clock.
Before you start
Insist on an in-person inspection of clean paint, a signed realistic scope, adequate time, a controlled environment, repaint history, comparative readings, and a plan for refusing failing or uncertain areas.
Tools and materials
- multiple inspection lights
- paint-depth gauge and calibration references
- trained polishers
- cutting and finishing pads
- pad cleaning system
- compatible compounds and polishes
- masking/protection
- panel prep where specified
- PPE
Steps
Do the work in order.
-
Step 1 Build a defect and risk map
Inspect clean, decontaminated paint under both diffuse and directional light. Note scratches, etching, oxidation, sanding marks, texture, chips, edges, repaints, and outright failure.
-
Step 2 Collect comparative measurements
Calibrate a suitable gauge and run it across the panels it can read. Compare patterns instead of leaning on one number, and document the materials the gauge can’t assess.
-
Step 3 Agree on the finish target
Show the customer what can safely improve, what will remain, where touch-up or paint and body work belongs instead, and how inspection lighting will judge the finish.
-
Step 4 Prove a cutting test spot
Start with the least aggressive credible combination on a representative safe area. Control passes and temperature, remove the residue, and inspect the true correction and the cut haze.
-
Step 5 Prove the refinement system
Test a compatible pad and polish that clears the cut haze and finishes bright on that specific paint, adjusting one variable at a time.
-
Step 6 Process panels with pad discipline
Divide the panels, protect the edges, keep your sections consistent, clean or replace pads, hold pressure, speed, and heat steady, and close out each stage systematically.
-
Step 7 Inspect between and after stages
Use a residue-removal method compatible with the planned protection, inspect under multiple light types and angles, and stop yourself before chasing risky isolated defects.
-
Step 8 Protect, document, and hand off
Apply the approved protection, record the remaining defects and sensitive areas, capture matched evidence, and walk the customer through safe maintenance.
Reference
Use the detail when you need it.
How it works
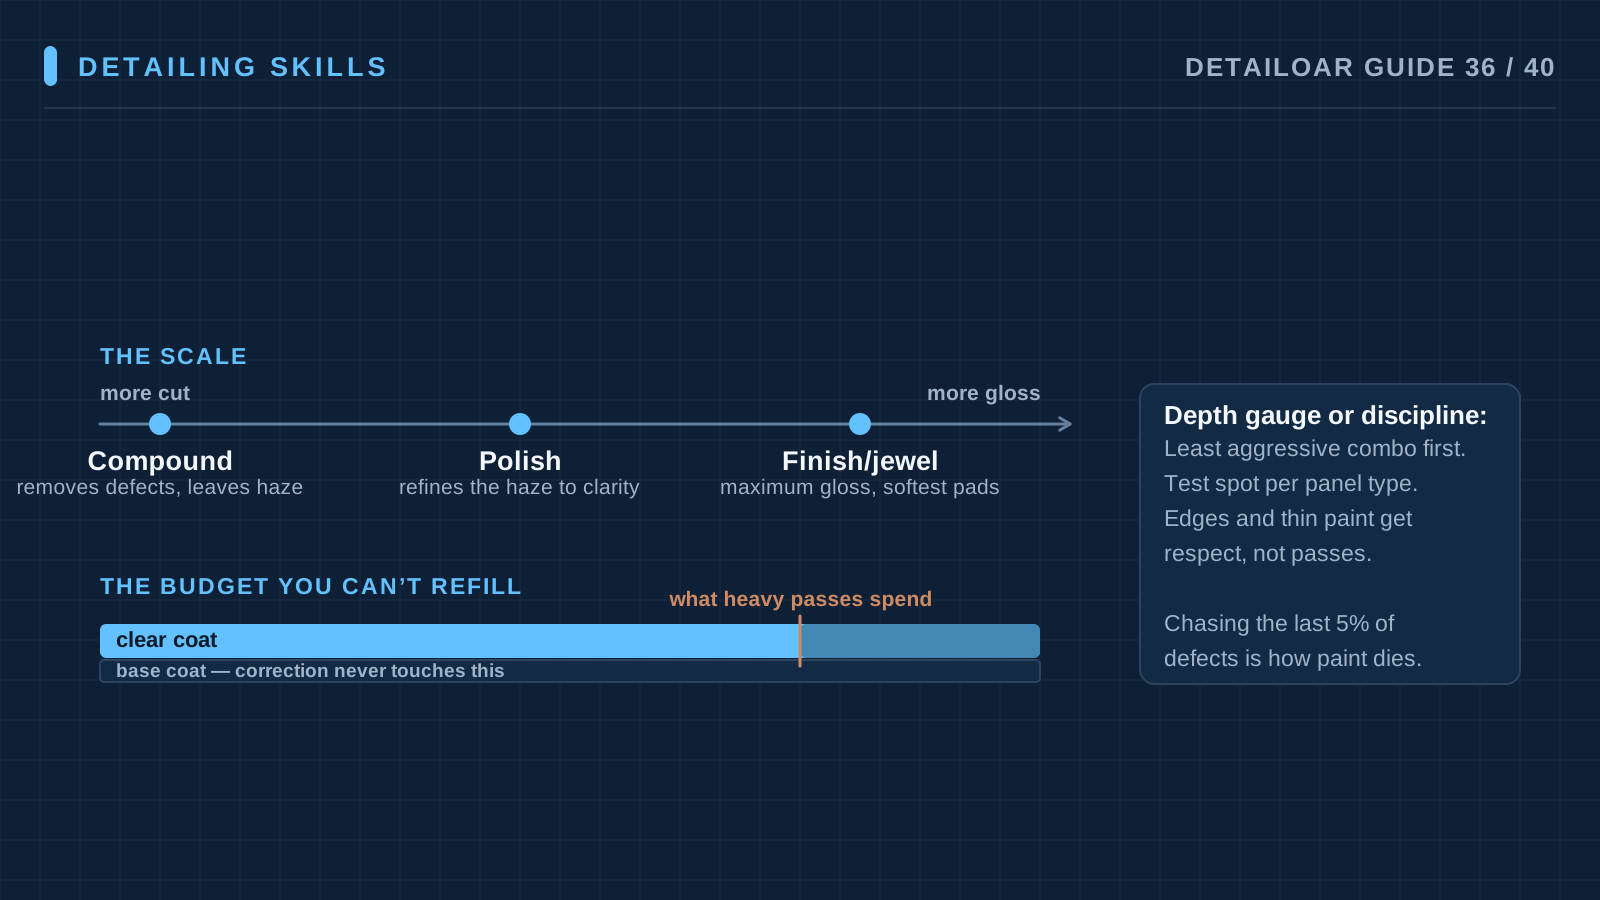
Correction is defect management on a finite paint budget — every pass spends clear coat you can’t refund. Inspection sorts removable surface defects from risky deeper ones, and both from texture, chips, etching, oxidation, repaint behavior, and coating failure. Multi-step work earns its cost only when the cut stage and the refinement each produce a verified improvement.
Terms used in this guide
- Defect mapA panel-by-panel record of defect type, severity, repair clues, measurement context, risk, and what you intend to do about each.
- RefinementThe later polishing stage that clears the haze or micro-marring the cutting stage left and brings up the finish clarity.
Common mistakes
- Selling defect-removal percentages with no method behind them.
- Letting one reading speak for a whole panel.
- Cutting the entire vehicle before proving the refinement.
- Running loaded pads.
- Chasing isolated deep scratches.
- Coating before confirming the finish is residue-free.
Troubleshooting
- Cut stage creates heavy hazeBack the aggression off, clean or change the pad, get heat and product cycle under control, and prove the refinement can safely recover the finish before you continue.
- One panel behaves differentlyStop. Reassess repaint, material, and readings, and test that panel on its own terms instead of forcing the system that worked everywhere else.
- Defect remains after planned cutClassify its depth and risk again. Leave it and document it, or refer it to paint and body repair — don’t add passes nobody approved.
Finish
Check the result and close the loop.
What good looks like
- The risk map decides the aggression.
- Measurements are contextual and repeatable.
- Cut and finish tests were both proven.
- Pads stayed clean and kept cutting true.
- Edges and body lines are preserved.
- Deep defects stayed where removal would have been unsafe.
- Final inspection ran under several lights.
Final checklist
- Defect and risk map complete
- Measurements in context
- Target approved
- Cut and refine tests proven
- Pad and heat logs maintained
- Multiple-light QC passed
- Remaining defects documented
- Protection and aftercare complete
What to do next
- Move to coating only once the preparation requirements are met.
- Fold the results back into future inspections and estimates.
- Set up maintenance washing guidance for the customer.
More
Continue only where it helps.
Prerequisites
How to Perform a One-Step Machine Polish20 min readLearning paths with this guide
Learn Paint Correction5 guidesFrequently asked questions
What percentage of scratches can be removed?
Any universal percentage is misleading. Inspection and test spots decide which defects can be improved safely on that specific finish.
Does a paint gauge make correction safe?
It adds useful comparative information on compatible substrates. It cannot reveal every layer, repair, edge condition, or how much removal remains safe.
When should a scratch be left alone?
When its depth, its edge or location, the paint’s condition, repair uncertainty, heat, or the removal required creates risk the customer benefit can’t justify.
Sources and review
Reviewed by DetailOAR Editorial Review on July 15, 2026. Verify current labels, interfaces, prices, and local requirements before acting.
Related field guides
 Detailing SkillsCeramic Coating Preparation, Application, and Customer AftercareBuild a controlled coating environment, verify the paint and product suit each other, apply and level exactly by the manufacturer’s system, guard the cure, and hand over exact aftercare.
 Detailing SkillsVehicle Check-In, Inspection, and Damage DocumentationA calm, repeatable check-in that confirms who and what you’re working on, records the condition the car arrived in, keeps media private, and gets acknowledgment before work begins.
 Detailing SkillsFinal Quality Control, Customer Handoff, and Working Faster Without Cutting CornersPut staged quality gates, a fixed final inspection route, an evidence-based handoff, and honest time studies to work — and raise throughput without deleting safety or quality.