
DetailOAR Field Manual · Ceramic coating
Ceramic Coating Preparation, Application, and Customer Aftercare
Build a controlled coating environment, verify the paint and product suit each other, apply and level exactly by the manufacturer’s system, guard the cure, and hand over exact aftercare.
Save or use this guide
Contents
Start
Know the outcome.
Apply the coating inside the product’s exact environmental requirements, catch high spots before they cure, and hand off a documented maintenance plan.
Audience, time, and cost
Trained technicians running a specific professional or consumer coating system, after safe preparation and paint finishing are second nature.
Time and costPreparation often takes longer than the application itself. Reserve the protected indoor cure time the exact product and environment require.
Before you start
Get the current technical data, label, SDS, authorized substrate list, temperature and humidity range, flash and leveling method, cure, layer timing, water restrictions, warranty terms, and ventilation requirements in hand first.
Tools and materials
- inspection lighting from several angles
- temperature/humidity monitor
- clean applicators and coating towels
- timer
- manufacturer-approved coating system
- panel preparation product
- PPE
- masking
- aftercare document
Steps
Do the work in order.
-
Step 1 Verify product and environment
Record the product and batch, substrate, expiry, room and panel temperature, humidity, ventilation, dust, lighting, and whether protected cure space is truly available.
-
Step 2 Complete paint preparation
Wash, decontaminate, correct to the approved target, clean the seams, remove polish residue with the specified process, and inspect under several lights.
-
Step 3 Create a small application test
Prime the applicator if the product requires it, coat a representative safe section at the specified coverage, watch the actual flash, level with the assigned towels, and inspect.
-
Step 4 Apply in controlled sections
Follow the specified pattern and coverage without laying it on heavy, time each section, close every overlap gap, and keep used applicators and towels in controlled storage.
-
Step 5 Level and cross-check
Use the specified first and final towels, inspect from multiple angles right away and again within the correction window, and retire loaded towels early.
-
Step 6 Apply layers or toppers only as specified
Honor the exact layer window and compatibility. Never improvise combinations, and never add a product just because it’s on the shelf.
-
Step 7 Protect and monitor cure
Keep the vehicle in the required environment, away from water, dust, and hands. Put up visible no-touch controls and inspect before release.
-
Step 8 Document and hand off
Record the product, batch, date, and areas, register the warranty if it’s legitimate, and cover first-water and wash timing, the approved wash method, contaminant response, inspection schedule, and limits.
Reference
Use the detail when you need it.
How it works
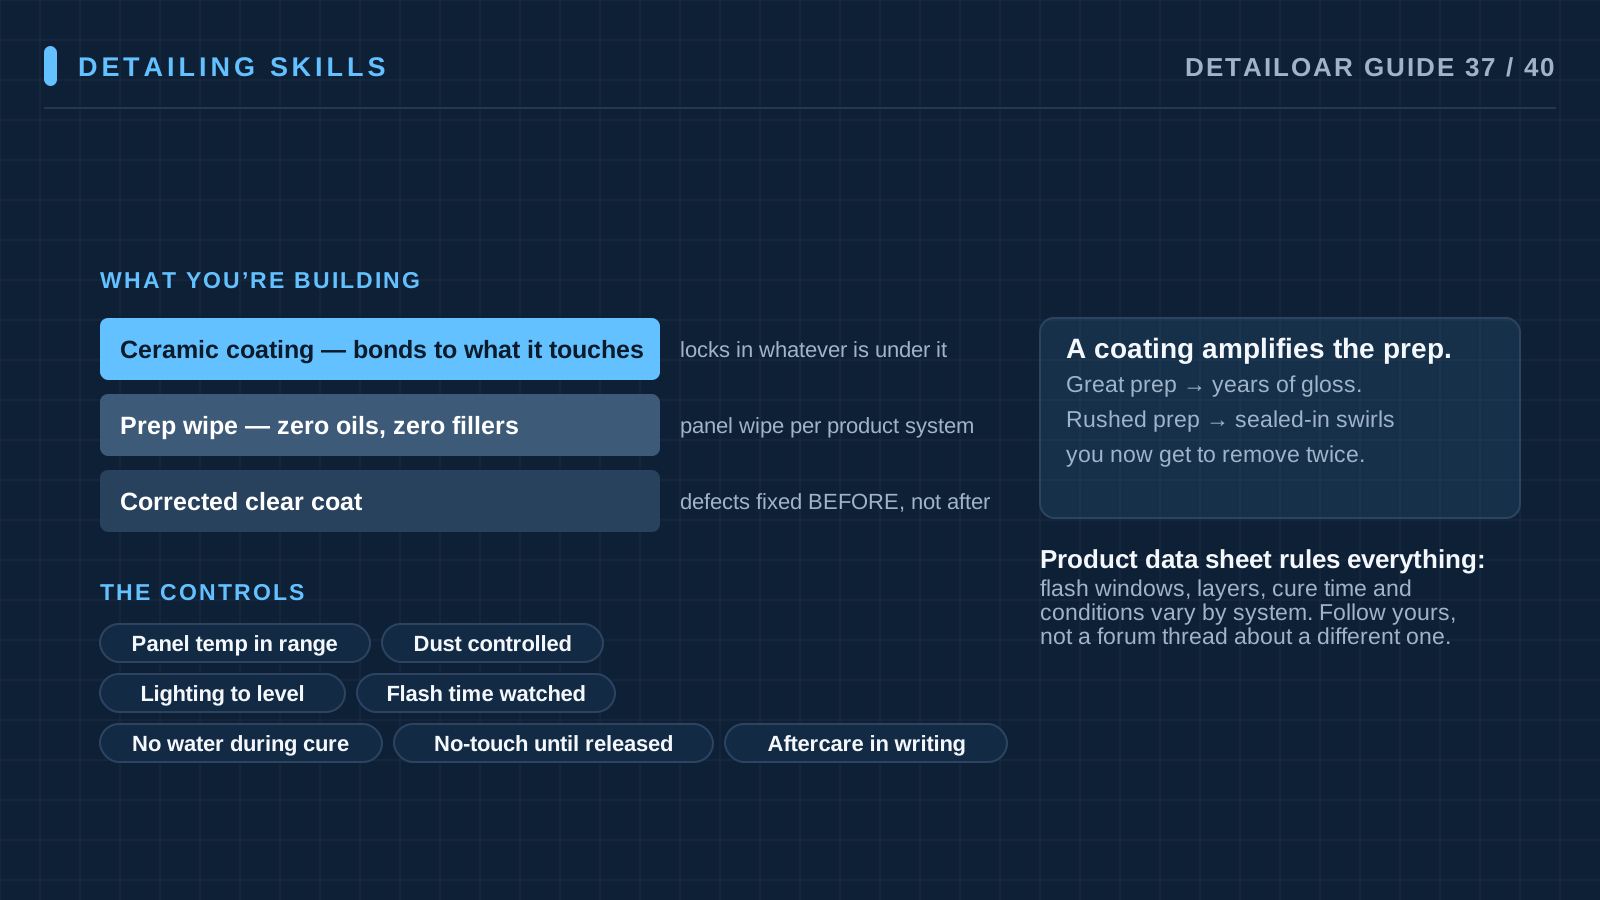
A coating bonds to whatever surface you give it — including defects, oils, lint, and residue, which it can lock in. Success rides on controlled paint condition, environment, section size, timing, lighting, towel management, and an uninterrupted cure. The generic crosshatch motion alone is the smallest part of it.
Terms used in this guide
- FlashThe product-specific visual or time change that tells you when to level under the stated conditions.
- High spotExcess coating that never got leveled evenly and can cure into a dark, rainbow, or smeared patch.
Common mistakes
- Running on a memorized universal flash time.
- Coating straight over polishing residue.
- Working sections too large to control.
- Leveling with loaded towels.
- Skimping on side lighting.
- Letting rain or dew at the vehicle too early.
- Promising scratch-proof paint.
Troubleshooting
- A fresh high spot is foundFollow the coating manufacturer’s immediate correction method within the allowed window, then reinspect. Do not guess with solvent or abrasion.
- A cured high spot remainsDocument it, then use the manufacturer-approved correction and reapplication process — which may require polishing. If scope changes, get the customer’s approval first.
- Humidity or temperature leaves rangePause any new application, protect the completed sections, follow the manufacturer’s technical guidance, and rework the cure schedule.
Finish
Check the result and close the loop.
What good looks like
- The environment and batch are on record.
- The paint was inspected before application.
- The test section set the real timing.
- Towels were managed by role and by loading.
- Inspection from several angles found no high spots.
- The cure was physically protected.
- The aftercare matches the exact product.
Final checklist
- Product, batch, and expiry verified
- Environment in range
- Preparation and multiple-light QC passed
- Test application proven
- Section and layer log complete
- High-spot inspection passed
- Cure protected
- Aftercare delivered
What to do next
- Book the specified inspection or maintenance contact.
- Teach the customer safe wash methods.
- Store batch and warranty evidence with the vehicle record.
More
Continue only where it helps.
Prerequisites
Chemical Decontamination and Clay Treatment17 min readHow to Perform a One-Step Machine Polish20 min readLearning paths with this guide
Learn Paint Correction5 guidesFrequently asked questions
How long must a ceramic coating cure?
As long as the exact current manufacturer instructions say — for that product, those layers, that temperature, and that humidity. There is no universal safe time.
Does coating prevent scratches or chips?
No. It can help gloss, chemical resistance, and cleaning, but it is not impact film and it is not scratch-proof.
Can coating be applied outdoors?
Only if the manufacturer allows the actual conditions and the surface can stay controlled through application and cure. A protected environment is usually the more reliable bet.
Sources and review
Reviewed by DetailOAR Editorial Review on July 15, 2026. Verify current labels, interfaces, prices, and local requirements before acting.
Related field guides
 Detailing SkillsPaint Correction: Defect Inspection, Test Spots, and Multi-Step PolishingPlan advanced correction like the irreversible work it is: classify defects and paint risk, prove the test system, keep cut and finish stages separate, control heat and residue, and refuse unsafe removal.
 Detailing SkillsThe Safe Exterior Wash Process From Start to FinishWash an exterior the controlled way: cool surfaces, a real pre-rinse, lubricated contact, dirty tools kept away from clean paint, a full rinse, safe drying, and a final inspection.
 Detailing SkillsFinal Quality Control, Customer Handoff, and Working Faster Without Cutting CornersPut staged quality gates, a fixed final inspection route, an evidence-based handoff, and honest time studies to work — and raise throughput without deleting safety or quality.