
DetailOAR Field Manual · Equipment and chemicals
The Essential Equipment and Chemical Buying Checklist
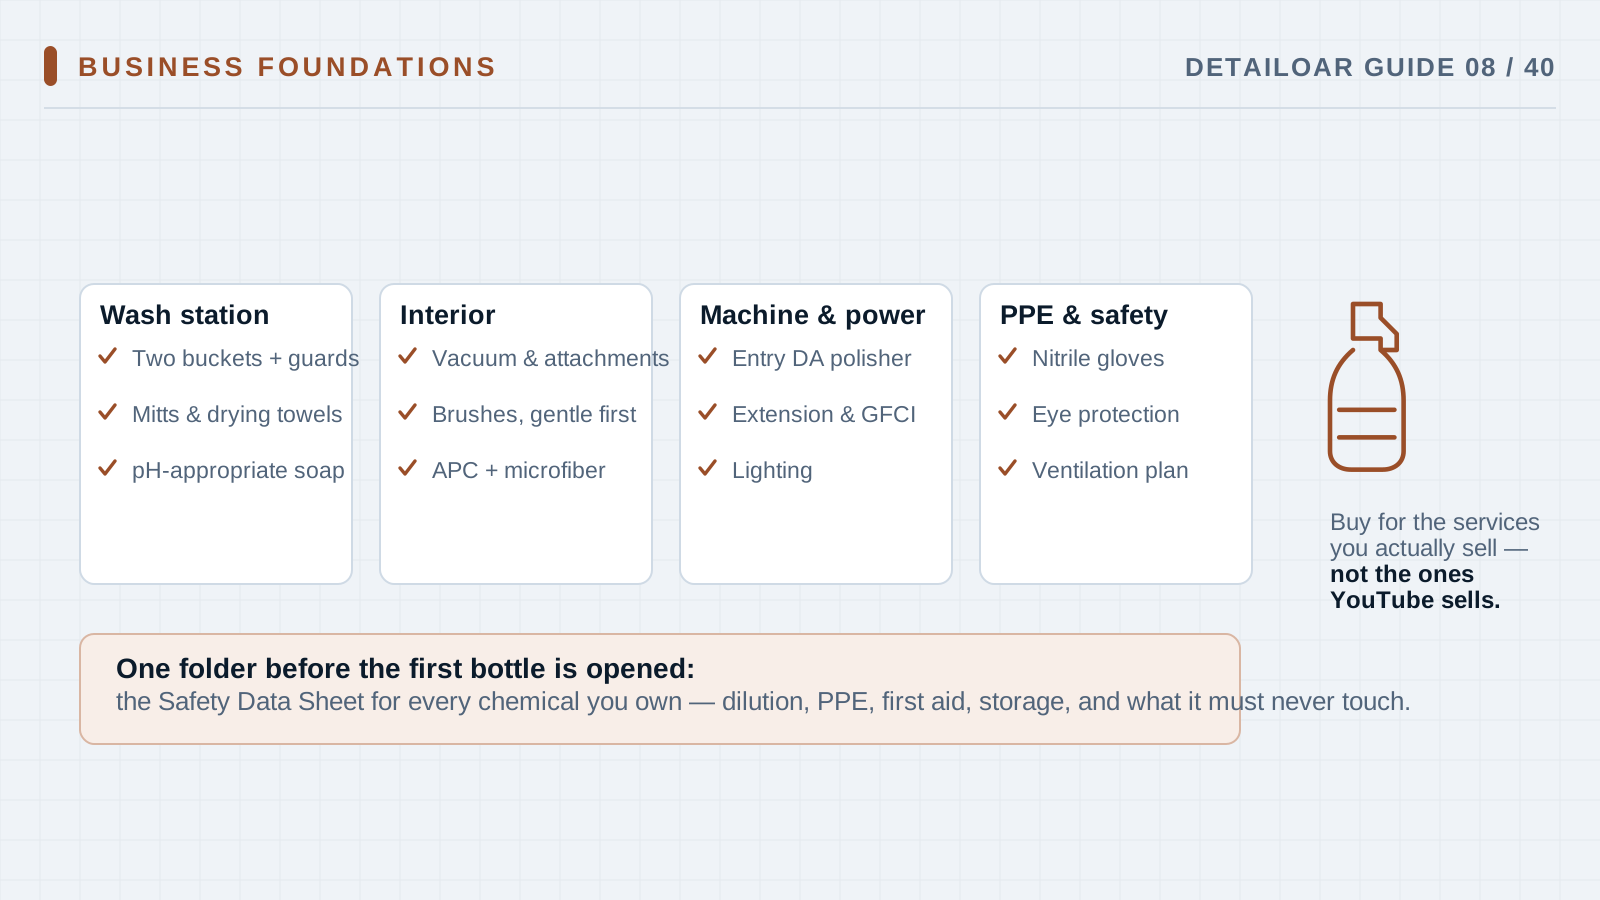
Buy a tight first kit of tools, PPE, chemicals, storage, and support equipment, with every item tied to a service you’ll actually sell.
Save or use this guide
Contents
Start
Know the outcome.
You’ll end up with an approved purchase list where every item has a purpose, a compatibility check, training, storage, a reorder point, and a safe alternative.
Audience, time, and cost
Owners buying their first professional kit, or thinning out a shelf that’s become a crowd of half-used products.
Time and costResearch takes half a day, and the purchase cost depends on your services and model. Buy the smallest commercial quantity that gets you through the test period.
Before you start
Settle your starting services, vehicle types, water and power access, transport limits, and budget first. Then pull the current label and SDS for every chemical you’re considering.
Tools and materials
- service-to-tool matrix
- supplier comparison sheet
- current product labels
- Safety Data Sheets
- storage plan
Steps
Do the work in order.
-
Step 1 Map each service you sell
Break every service into its setup, cleaning, correction, protection, inspection, and cleanup tasks.
-
Step 2 Choose safe core equipment
Pick a suitable vacuum, wash tools, hoses, lighting, extension protection, towels, brushes, bottles, measurement devices, and PPE for your environment.
-
Step 3 Choose the smallest chemical system
Start with clearly labeled, compatible products for wash, wheel, interior, glass, decontamination, and protection, and only where a service actually calls for them.
-
Step 4 Review labels and SDS together
For each product, note the PPE, ventilation, dilution method, incompatibilities, first aid, storage temperature, and disposal instructions.
-
Step 5 Verify utilities and transport
Check your pressure, flow, power load, GFCI protection, generator duty, water capacity, weight, ventilation, and securement.
-
Step 6 Separate towels and tools by job
Color-code or label your wheel, paint, interior, glass, coating, and dirty-work items, then set washing and retirement rules.
-
Step 7 Set reorder and inspection rules
Note normal usage, minimum quantity, shelf life, inspection cadence, warranty, and the trigger for replacement.
Reference
Use the detail when you need it.
How it works
A professional kit is a controlled system, not a collection. Every item should do a defined job, be compatible with the materials it will touch, fit your operating environment, and come with a storage, inspection, cleaning, and replacement routine.
Terms used in this guide
- SDSSafety Data Sheet: the manufacturer’s hazard, handling, storage, exposure, and emergency information for a product.
- Dwell timeHow long the manufacturer says a chemical stays on a surface before you agitate or remove it.
Common mistakes
- Buying social-media favorites without a compatibility check.
- Working out of unlabeled secondary bottles.
- Leaning on one towel type for every surface.
- Ignoring electrical load and GFCI protection.
- Buying chemicals in bulk before you know your usage and their shelf life.
Troubleshooting
- Two products seem to do the same jobKeep the one that’s safer, more compatible, easier to train on, and cheaper at actual usage, not just on nominal dilution.
- The setup exceeds payload or storageShrink the tank, cut the duplicates, use supplier refills, or change the vehicle. Never exceed rated payload or run with unsafe securement.
- A label conflicts with online adviceThe label and current SDS win. If the application is still unclear, ask the manufacturer for written technical guidance.
Finish
Check the result and close the loop.
What good looks like
- Every product has its SDS and a readable label.
- PPE and ventilation match the task at hand.
- Tools are split by contamination risk.
- Power, water, weight, and storage all sit within limits.
- The inventory covers the service menu with no duplicate products.
Final checklist
- Service-to-tool matrix filled in
- Labels and SDS collected
- PPE and spill kit bought
- Utility and payload limits checked
- Tools color-coded
- Reorder points set
- Training done
What to do next
- Load and secure the mobile setup, or lay out the shop.
- Practice each process on suitable test vehicles.
- Update your prices with real chemical and towel usage.
More
Continue only where it helps.
Frequently asked questions
How many chemicals do I need to start?
Usually fewer than you think. Buy only what your initial processes require, then add a product when a documented limitation shows up.
Are high dilution ratios always cheaper?
No. Compare the cost per safe usable application, plus training, dwell time, rinsing, compatibility, shelf life, and rework.
Can chemicals stay in a hot or freezing vehicle?
Only within the manufacturer’s storage limits. Temperature extremes can wreck both products and containers, so plan on conditioned or removable storage.
Sources and review
Reviewed by DetailOAR Editorial Review on July 15, 2026. Verify current labels, interfaces, prices, and local requirements before acting.
Related field guides
 Detailing SkillsChemical Safety: Handling, Storage, and Disposal for DetailersBuild the safety system every detailing product assumes you have: an SDS folder, label-first habits, matched PPE, labeled bottles, compatible storage, controlled wash water, and legal disposal.
 Business FoundationsHow to Set Up a Mobile Detailing Vehicle or TrailerLay out a mobile detailing rig around payload, securement, safe utilities, fast setup, wastewater control, and restocking you can repeat without thinking.
 Detailing SkillsThe Safe Exterior Wash Process From Start to FinishWash an exterior the controlled way: cool surfaces, a real pre-rinse, lubricated contact, dirty tools kept away from clean paint, a full rinse, safe drying, and a final inspection.